Canadian projector buying guide
Projector Screen Size for Condos: A Measurement Guide
A projector can fit a condo or compact room without forcing the largest possible image onto the wall. The useful question is whether the planned image fits the clear wall area, the available lens position and the light conditions at the time you watch. This guide is a measurement worksheet for that decision.

Use a tape measure, painter’s tape and a straight-on photo of the intended wall. Record every number before comparing models. A few minutes of measuring can reveal that a smaller image, a different wall or a temporary table position will produce a cleaner setup than the first idea.
Step 1: find the clear image rectangle
Measure the wall width and height, then subtract anything that cannot be covered by the projected image. Include door swings, thermostats, shelving, speakers, baseboard heaters, artwork you plan to keep and the space needed to reach a light switch. The remaining rectangle is the usable image area.
Do not use the full wall width as the screen width. Leave clearance around the image so a screen frame or projected edge does not run into furniture. Mark the likely left, right, top and bottom edges with low-tack painter’s tape. Sit in the main seat and check whether the rectangle feels comfortable before introducing the projector.
- Clear wall width is the maximum image width after obstacles and edge clearance.
- Clear wall height matters because a 16:9 image still needs room above furniture.
- Seating distance helps you judge whether subtitles and game menus will be comfortable.
- Eye height helps keep the image from feeling unnecessarily high.
- A straight-on wall photo makes remote buying advice much more precise.
Step 2: convert diagonal size into real width
Projector screens are normally described by diagonal size, but the wall has to accommodate the width and height. For a 16:9 image, an 80-inch diagonal is about 70 inches wide by 39 inches high, or approximately 177 by 100 centimetres. A 100-inch diagonal is about 87 by 49 inches, or 221 by 125 centimetres. A 120-inch diagonal is about 105 by 59 inches, or 266 by 149 centimetres.
Those dimensions describe the visible image, not the outside edge of a physical screen. Add the screen manufacturer’s border and housing dimensions if you plan to install one. Curtains, speakers and cable channels also need space.
Start by taping an 80- or 100-inch outline to find a comfortable image size for your seating position. A moderate image can be easier to focus, may appear brighter and can leave cleaner space for sound equipment. Enlarge the outline only after checking the main seating position and the actual lens-to-screen distance.
Step 3: measure from the lens, not from the sofa
Throw distance is measured from the projector lens to the image surface. Measure from each realistic lens position: a media console, a stable table, a ventilated shelf or a possible ceiling location. Do not measure from the back of the projector and do not substitute the distance from the sofa.
The image size a projector creates from that position depends on the model’s optics and any supported zoom range. A maximum image-size claim does not prove that a specific width will work from your available distance. Compare your measurement with the current model documentation or send it to the product team before ordering.
Also measure the height of the planned lens position and how far it sits left or right of the screen centre. Automatic keystone and focus features can simplify small adjustments on supported models, but a level, centred projector preserves more usable image area than heavy digital correction.
Step 4: test window light at the time you will watch
Stand at the intended screen wall at the normal viewing time and note whether light falls directly on it. Repeat the check with the blinds or curtains in the positions you are willing to use every day. This is more useful than a general statement about the city or the building.
Direct light on the image reduces contrast. A different wall, a smaller image and ordinary light control may improve the result more than choosing from an unstandardized brightness number. Manufacturer lumens are not automatically comparable with independently measured ANSI or ISO values, so the measurement method matters.
Use the same test for lamps. A floor lamp that shines toward the screen can weaken dark scenes even when the rest of the room feels dim. Move task lighting behind the seating area or aim it away from the image. No portable home projector should be chosen on the assumption that it will overpower direct sunlight on the screen.
Step 5: choose a placement you can live with
A temporary setup on a stable console can work well when the projector needs to be stored after use. Keep the intake and exhaust clear, and avoid soft surfaces such as a bed, sofa or carpet that can block ventilation. Confirm that people and pets will not cross the power or HDMI cable.
A rear shelf can free floor space, but it must place the lens within a usable range and leave ventilation clearance. Test focus at every corner and make sure the ports remain accessible. A shelf is not automatically suitable simply because it is at the back of the room.
For a ceiling position, test the complete setup before drilling. Confirm the projector’s mounting points, the mount’s supported load, the ceiling structure, ventilation, cable length and access to source devices. Use appropriate hardware and qualified installation help when the structure or electrical route is uncertain.
Step 6: compare the four current BOSS Projectors models accurately
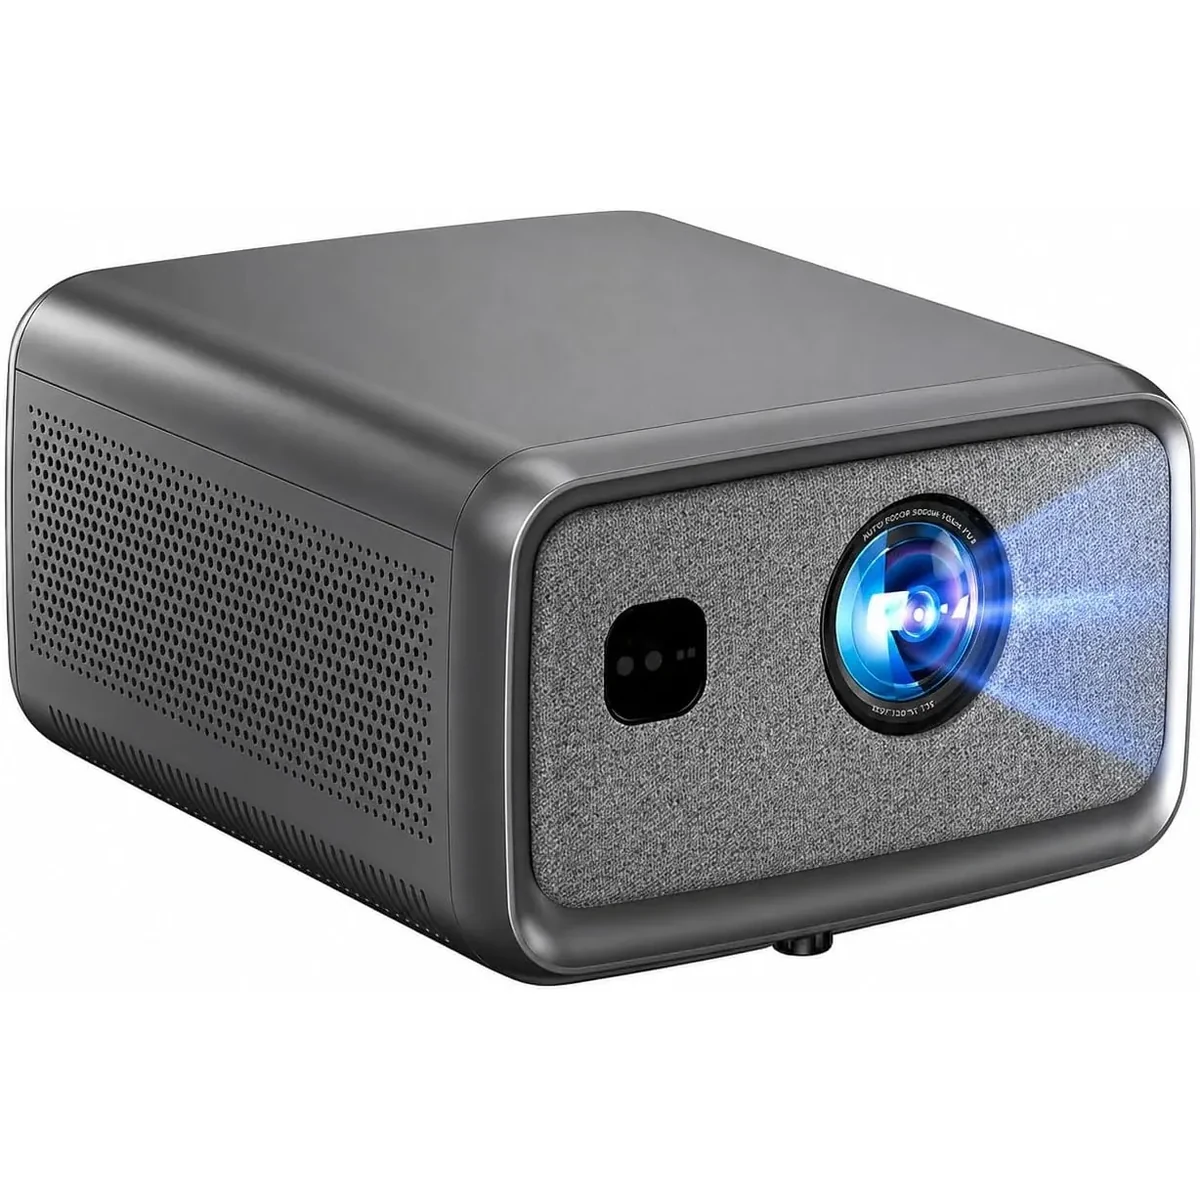
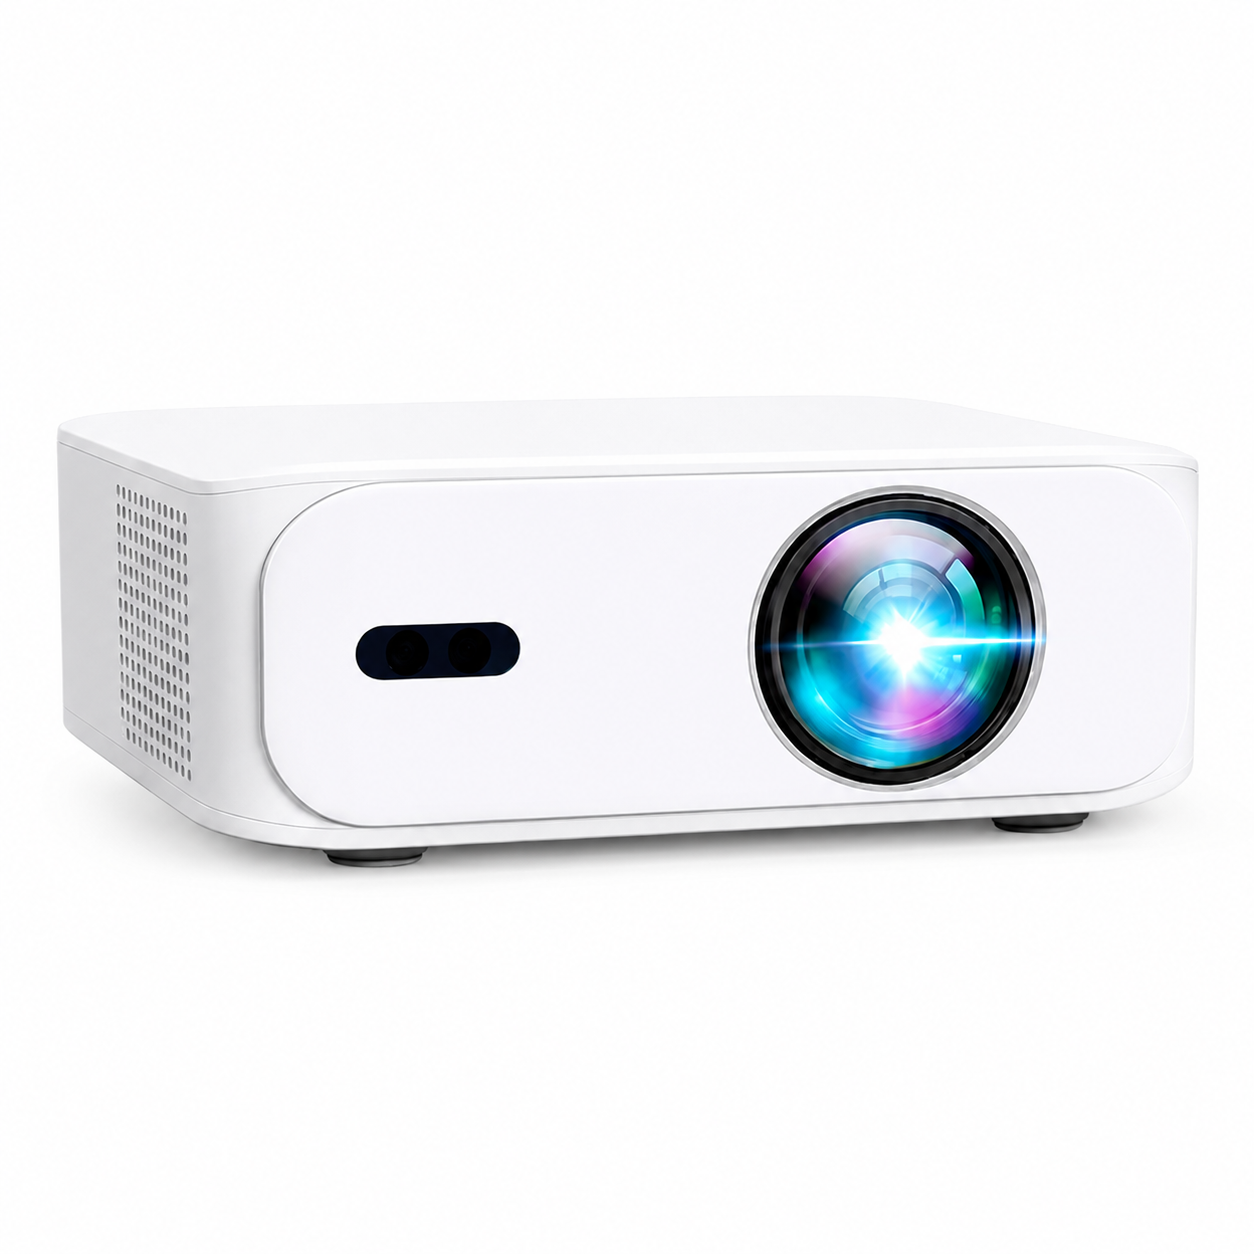
The BOSS A5 is the compact model to compare for portable or pack-away setups. It lists native 1920 × 1080 Full HD output, an Android 11 interface, AI-assisted autofocus and automatic keystone correction. The BOSS S6A also lists native 1920 × 1080 Full HD output with a smart Android interface and automatic image controls.
The BOSS S7 lists 3840 × 2160 4K UHD output using a 0.39-inch DMD and DLP/LED hybrid technology. Its current specification describes remote digital focus and automatic keystone, so it should not be presented as an autofocus model. The BOSS S8A lists native 1920 × 1080 Full HD output, compatible 4K input, a Google TV interface, automatic focus and automatic keystone.
Native output resolution and accepted input resolution are different. Choose from the measured room, source devices, preferred smart interface and adjustment controls rather than from the word “4K” by itself. Use each live product page for the current price, stock and direct-order offer.
Step 7: plan sources, sound and cables together
HDMI is normally the most predictable connection for a console, laptop, cable box or certified streaming device. Wireless casting depends on the phone, application, network and content licence, so keep a wired or HDMI-device fallback for services you use regularly.
Bluetooth can be convenient for compatible speakers or headphones, but audio delay varies. Test dialogue and game response before making the placement permanent. If timing matters, a wired or HDMI audio route may be more dependable.
Draw the power, video and audio paths on the room sketch. Keep cables out of doorways and walking routes, avoid sharp bends and leave access to the projector ports. A visually clean installation still needs service access and airflow.
Complete the worksheet before requesting a recommendation
Send the following information together so the comparison is based on your room rather than a generic sales answer:
- Clear wall width and height.
- Lens-to-screen distance from every realistic projector position.
- Main seating distance and desired 16:9 diagonal.
- A photo of the screen wall and a description of window light at viewing time.
- Source devices, audio equipment and preferred placement.
- Whether the projector will stay installed or be stored after use.
These measurements allow the A5, S6A, S7 and S8A to be compared against one concrete setup. They also reveal when changing the image size or lens position is more useful than changing the model.
Current models and prices
Explore the current models
Review the key specifications and current prices. Open a model for the full details.