Canadian projector buying guide
Your Camera Roll Deserves a Premiere: Family Films on the BOSS A5
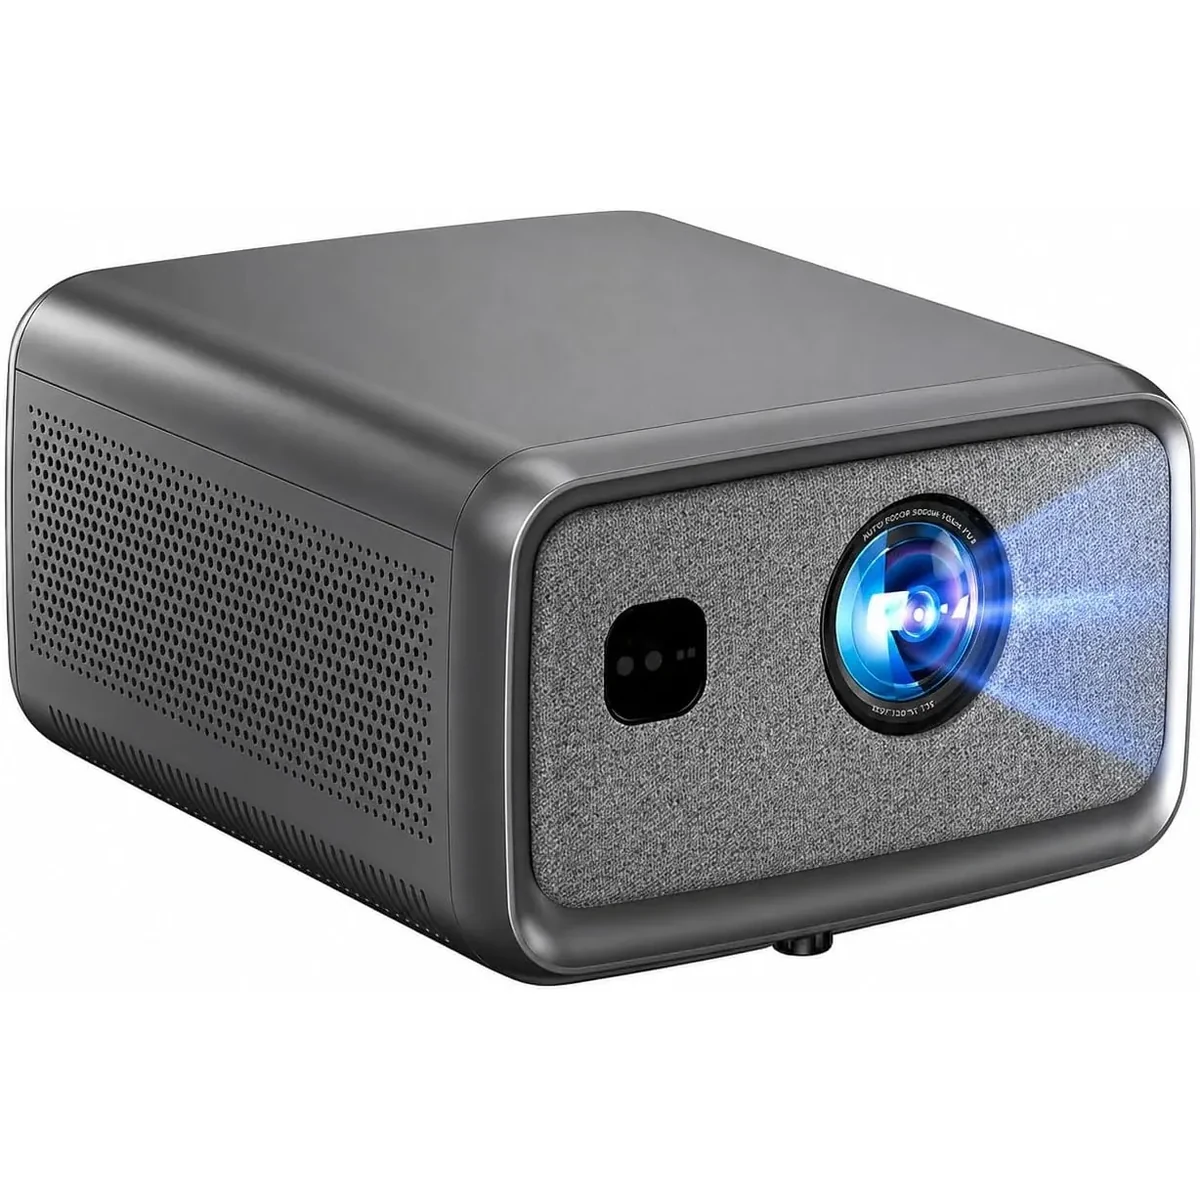
A family film night starts with the footage you already own: a birthday toast, a canoe trip, a child's first performance, or the ordinary afternoon everyone still talks about. The BOSS A5 brings those moments onto a shared screen with native 1080p resolution, USB pendrive playback and HDMI connectivity. Turn a small selection of photos and videos into one finished film, give it a beginning and an ending, and let the evening become a conversation about the people in it.

The difference between browsing a camera roll and watching a family film is the edit. A camera roll records everything in order. A film chooses what matters. This guide takes a Canadian cottage-weekend example from scattered phone clips to a twelve-minute premiere, with a practical approach to picture shape, captions, sound, exporting and A5 playback that also works for holidays, anniversaries and family reunions.
Choose one story people can follow
Start with a sentence: “This is the weekend we finally got everyone to the lake.” That sentence makes the decisions easier. The drive belongs because it begins the trip. The cooking disaster belongs because everyone remembers it. Forty near-identical shots of the water can become one establishing image. You are choosing scenes that move the story along, rather than filling a running time.
For a first project, choose one event, one person or one season. “Our summer at the cottage” is manageable. “Everything our family has ever filmed” usually becomes an archive project before it becomes an enjoyable evening. Keep the larger collection for future chapters and give this film a clear destination.
- One event: follow the preparation, the gathering and the journey home.
- One person: connect early photographs, everyday habits and a present-day message.
- One place: revisit the same home, campsite or neighbourhood across several years.
- One tradition: collect the same holiday ritual from different generations.
Choose an ending before you start editing. A wave from the dock, the last line of a toast or a current family portrait can give the film a natural finish. Knowing that final moment helps you avoid adding another five minutes simply because more files are available.
Gather the files once, then organise the edit
Ask contributors for their original photo and video files, plus the names, dates and places that make the material meaningful. A message such as “Please send your three favourite clips from the weekend, including any with someone speaking” produces a more useful selection than asking everyone for everything.
Create a project folder with four clearly named subfolders: Originals, Selections, Edit and Finished Film. Keep the incoming files in Originals. Put copies of the chosen material in Selections. Store the editing project in Edit and the exported film in Finished Film. This makes it easy to revise the story without losing the source footage.
For material in Photos on a Mac, select the items and use the app's export commands to save them into your project folder. Apple provides separate options for exporting edited items and unmodified originals, and its video export settings include 1080p. Follow Apple's guide to exporting photos, videos and slideshows for the available choices.
Label your working copies with useful context, such as 2026-08-cottage-arrival or grandad-toast. A short accompanying note can preserve details that filenames cannot: who is behind the camera, why everyone starts laughing, or which year a photograph was taken. Those details become the film's captions and introductions.
Build a twelve-minute film with a clear rhythm
Twelve minutes is a useful editorial target for this example: enough room for several scenes, with a clear finish before the gathering moves on to conversation. Treat the following sequence as a starting script. A milestone birthday might need more time for messages; a single afternoon can be told in much less.
| Running time | Chapter | What to include |
|---|---|---|
| 0:00–0:30 | Opening | A title, the place and year, and one image that establishes the mood. |
| 0:30–2:00 | Getting there | Packing, the drive, arrivals and the first greetings. |
| 2:00–5:00 | The day's main event | The swim, walk, meal or activity that gives the film its story. |
| 5:00–8:00 | The people | Short conversations, small reactions and the moments each person brings. |
| 8:00–10:30 | The moment everyone remembers | Give the best story or funniest exchange enough time to unfold. |
| 10:30–12:00 | Going home | A quieter closing scene, a group photograph and brief credits. |
Within each chapter, alternate wide views with close details. Show the whole picnic table, then the hands serving food, then the reaction to the first bite. Three different views explain a scene more effectively than several nearly identical wide shots. Include a few seconds before and after a spoken sentence so that the person does not appear to begin or finish abruptly.
Use still photographs to connect gaps in the video. Start with roughly four to six seconds for a simple photograph, then allow longer for a group portrait or an image with a caption. The purpose is to leave enough time to recognise the people and read the words. A busy image deserves more time than a single face.
Make portrait clips and older footage belong together
The A5's native picture is 1920 × 1080 in a 16:9 shape. Set up a landscape editing canvas so the whole film has a consistent frame. Inside that frame, preserve the shape of each source: wide holiday video, vertical phone clips and older 4:3 home movies can all appear in the same programme without stretching faces.
For a portrait clip, fit the complete image inside the landscape frame and use a plain dark background in the space beside it. This keeps the subject's head, hands and surroundings visible. Filling the entire width by cropping a vertical recording can remove the very detail the clip is meant to show. For two related photographs, a side-by-side layout can use the space well, especially for a “then and now” comparison.
Keep older footage in its original proportions too. Its texture and colour are part of the record. Enlarge it only as far as the composition needs; a border is preferable to an awkward crop through a face. Microsoft explains canvas choices in its Clipchamp guide to changing video aspect ratio.
Use transitions sparingly. A direct cut works well between actions. A short dissolve can mark a change of year or location. Applying a different effect to every photograph gives viewers another thing to process when their attention should be on the people.
Let people read the names and hear the voices
A family audience includes people who know every face and people meeting those relatives through the film. Introduce a person when they first appear: “Aunt Claire, Lake Simcoe, 1998.” Later scenes can use just the name. Identify the setting once at the beginning of each chapter instead of covering every shot with the same information.
Use a clear typeface, strong contrast and short captions. Put white lettering on a dark panel when the background changes from shot to shot. Leave generous space between text and the outer edges. If a sentence needs three lines, shorten it or divide it into two captions. A date and a place should be readable without pausing the film.
Listen to the dialogue while you edit. Bring quiet voices forward and reduce music beneath speech. Keep meaningful natural sound: the lake, an old kitchen clock, applause after a performance, or a familiar laugh. A continuous song can flatten these moments into background images; a few stretches of natural sound let them feel like scenes.
Caption words that are central to the story, particularly in a noisy outdoor recording. If a sentence is difficult to hear, include its meaning accurately rather than guessing at unclear words. Keep music at a supporting level and avoid abrupt volume jumps when switching between clips from different phones. For a warm ending, let the final voice or natural sound finish before the closing card appears.
Export a finished film ready for playback
Your editing project contains the arrangement of clips, titles and sound. Exporting turns that arrangement into the video you will actually play. Give the finished file a clear name such as Cottage-Weekend-2026.mp4; keep working versions inside the Edit folder so nobody has to choose between several files labelled “final”.
For this A5 workflow, use a 1080p landscape export. It matches the projector's native display resolution and keeps the final presentation consistent across mixed source material. Keep higher-resolution originals in the archive so you can reuse them in another project later.
In Clipchamp, choose Export and select 1080p to create the finished video. Clipchamp exports an MP4 file; saving the project alone does not create that viewing copy. Microsoft's instructions for exporting and saving a video explain where the finished file goes.
Export captions as part of the visible picture when you want the same words to appear through either playback route. Keep a text copy of the captions with the project as well. That makes correcting a name or creating a second-language version easier when someone spots a missing detail after the premiere.
Play family videos on the A5 through USB or HDMI
The BOSS A5 supports USB pendrive media playback and has an HDMI input. Choose the route that suits the evening: USB keeps the finished film with the projector, while HDMI gives the person presenting direct control from a laptop.
USB pendrive: one film, one place to find it
Copy the finished film onto your USB drive and place it in a clearly named folder, such as Family Film Night. Insert the drive into the A5, open the connected USB storage through its media browser and select the film. Keep the main feature easy to find instead of mixing it into years of unrelated files.
For a programme with several chapters, use names such as 01-Opening, 02-Cottage-Weekend and 03-Messages. If you want one continuous presentation, combine those chapters in the edit and export a single film. That puts the transitions and running order inside the video itself.
Laptop HDMI: convenient control for a narrated evening
Connect the laptop's video output to the A5's HDMI input, select HDMI on the projector, and open the film in the laptop's video player. Set the player to full screen and choose the HDMI-connected display as the audio output when using the projector's sound. A computer with USB-C video output can use a compatible HDMI adapter.
This route works particularly well when someone wants to introduce chapters, pause on a photograph or replay a short interview. The laptop handles the video file; the A5 displays its picture. Keep notifications silenced and the finished film open so private messages and desktop windows stay out of the presentation.
Arrange the room around faces and conversation
Place the A5 on a stable surface facing the screen or wall as squarely as possible, connect its power supply and leave the ventilation openings clear. Its autofocus and automatic keystone correction help with picture setup. Start with a level, centred position so the image needs as little geometric adjustment as possible. The BOSS A5 product page lists the projector's Full HD resolution and connection features.
Close curtains and keep lamps from shining directly onto the picture. Place any low room lighting beside or behind the seats. Family films often contain dim kitchens, evening gatherings and old indoor recordings, so controlling room light helps those quieter images remain visible.
Choose a picture size that fits both the wall and the people watching. As a dimensional reference, a 100-inch 16:9 image is approximately 221 cm wide and 125 cm high. That is the picture area; the screen frame needs extra space. Our guide to measuring a projector picture in a condo explains how to plan the available area.
Keep the bottom of the picture above the heads of the front row, and leave a clear route to the seats. Put the remote beside the person introducing the film. Those small decisions make it easy to pause when a photograph starts a story, then return to the programme without rearranging the room.
Give the premiere a second life
After the credits, leave a favourite group photograph on screen and ask one specific question: “What happened just before this picture?” Specific prompts bring out details that a general invitation to reminisce often misses. Write down names and dates while people remember them, especially for older footage.
Keep the original files, the editable project and the finished film together, with another copy in a separate storage location. Add a simple contents note naming the people and events in each chapter. A future family member should be able to understand what the folder contains without opening every file.
For the next gathering, make a new chapter rather than lengthening the same film indefinitely. A collection of focused films is easier to revisit: the cottage weekend, a grandparent's recipes, the house before the renovation, or a year of Sunday dinners. The A5 becomes the place where those small stories are watched together.
Questions about family films on the BOSS A5
Can the BOSS A5 play home videos from a USB pendrive?
Yes. The A5 supports USB media playback. Put your viewing files on the pendrive, connect it to the projector and open the film through the media browser. For an evening controlled from a computer, use the A5's HDMI input.
Can photos and video clips appear in the same film?
Yes. Arrange both on one editing timeline, add titles and sound, then export a single video. This gives you one running order and lets you decide how long each photograph stays on screen.
Should vertical phone videos fill the whole screen?
Keep their original proportions inside the landscape frame. Side space preserves the full composition. Crop only when the important action remains visible throughout the shot.
Is internet required for a family film night?
A film stored on a USB pendrive, or saved on a laptop connected by HDMI, can play locally. Download any cloud-stored material while preparing the film so the finished programme is available from local storage.
How long should the finished film be?
For the cottage-weekend example, twelve minutes gives each chapter a purpose. Choose the duration around your story and audience: a short birthday message can be a few minutes, while a reunion can use several separate chapters with conversation between them.
Current models and prices
Explore the current models
Review the key specifications and current prices. Open a model for the full details.